FRONT PANEL
We first added the focal image to our front panel which is the two close ups of Jack and Ella:
We used the quick selection tool to and refine edge tool to get rid of the background, the skin smooth tool to make their skin flawless, and brightness adjuster tool to alter the colour of their eyes and make them more vibrant.
We cropped and re-aranged the two faces into a split screen which is synergistic with the use of split screens in our music video:
 |
| Split screen on our front pannel |
 |
| Split screen in our video |
BACK PANEL
For our inside panel we had originally planed to have the same images as the front panel as seen in our flat plan:
However after showing this to our teacher, she advised that this appears to be repetitive and the back panel doesn't leave enough space for the track names. We had also shown this flat plan to Emma, a 17 year old member of our target audience who agreed the front and back panels were too repetitive. Therefore we decided to chose one of our promo shots to use on the back panel which had space to write track names around and these were the options:
We eventually chose the photo of both Mira and Jax as we didn't want to focus to be just on Mira.
For the background we wanted to use a photo we had taken ourselves at God's Own Junkyard but we also wanted to manipulate it in photoshop to make the colours in the photo pop more. We used:
- Colour Balance Tool to alter all the colours in the photo, changing the look of the photo completely.
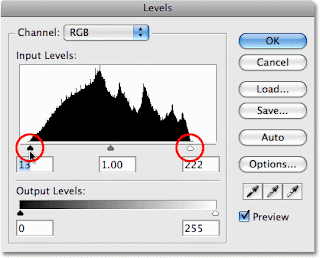
- Levels Adjustment Tool to change the tonal range of the image.
- Altered the saturation to make the colours more intense.
 |
| This shows the images before and after they had been photoshopped |
INSIDE PANEL
For our inside panel we wanted to use one of the shots of Mira and Jax at God's own Junkyard so that there was synergy between the front cover and the inside panels. The photo we chose to use was:
We wanted to adapt the photo to make the lights look brighter and more vivid. We used the same photoshop tools as we used on the front panel.
 |
| Inside panel before and after photoshop. |


No comments:
Post a Comment